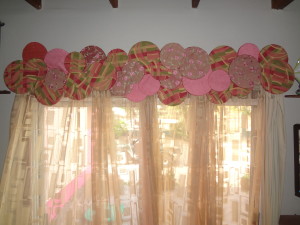
Embroidery Hoop Valance
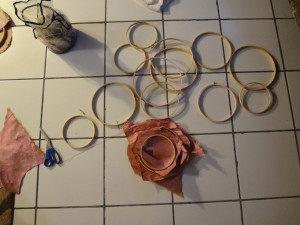
I’m a bit of a collector. That is to say, i never throw anything away…i’m very belizean that way – everything has a use. Also, i’m someone that when i see something unusual or odd, i tend to pick it up. Both of these tendencies came together to create a unique valance for my sliding glass entry door. Well, those things and a lot of rain, so i had a lot of time on my hands. I have some really nice, high quality fabric left from the days when i had my antique/home design shop. I have the ‘cuttings’ (what was left over from making other things) of some very expensive embroidered silk fabric i got well below wholesale, and i have a few yards of some nice upholstery fabric i used for my kitchen chairs. I also have several yards of silk dupioni, also acquired well below wholesale, and in large quantities for my shop. About a year ago i was delighted to find a whole schwack of new stuff at Caye Supplies, and embroidery hoops were among the treasures. I bought about a dozen of them, in 3 different sizes. I had no idea what i was going to do with them, but they were round, cheap, and unusual for San Pedro. 
 Fabric saved for over 10 years, odd-ball embroidery hoops, a hot and low-temp glue gun and my beloved staple gun all converged to make a rather cool window treatment.
And here’s how i did it: How To Make an Embroidery Hoop Valance –
First, you’ll want to determine approximately how high and wide you’d like your valance. Approximately two inches on either side of the jam is appropriate width, and the height is to taste.
Step One – Determine how many hoops you need. In my case, i had 12, so 24 circles is what i had, and is what i was going to make work. In this case, it worked out beautifully as i’d determined i wanted the c ircles to take up approx 15 inches in height, and 86″ wide. Arrange the empty rings to make sure you have enough for what you want to do.
Step Two – Separate the embroidery hoops and remove the thumb screw and tightening mounts
Step Three -Determine how many of each type of fabric you’d like in your finished product. Leaving a 1.5 to 2 inch allowance, cut the fabric into circles using the actual hoop section as a guide.
 Step Four – Using a low temp glue gun, go from opposite points on the circle, and glue the fabric to the inside to the hoop. Continue around the circle, gluing at opposite points until it’s glued the whole way around. To clarify, glue at 12 oclock, then 6 oclock, then at 3 and 9. Then go in between those points.
Step Five – Using paper, make a rough template of the shape you would like your finished valance to have. I used brown painting paper. TAKE A PICTURE! You will spend a ton of time futzing with the arrangement, and when the dog comes barreling through and messes it all up, you’ll be glad you have the photo.
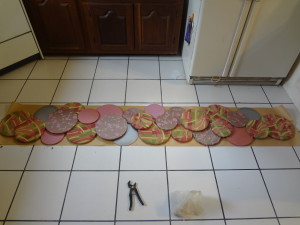
Step Six – Using low temp glue, put a small dab at any point where two rings come side to side. Notice they do not all touch one on each side, some do, some dont. Do NOT glue the top layer to the bottom layer yet.
Step Seven – If you have an electric stapler, use it to staple the joint from the bottom/back of the rings that are spot-glued. If you dont have an electric stapler, this will be a royal pain, and i’m not sure you need to do it… but I do, so i did. 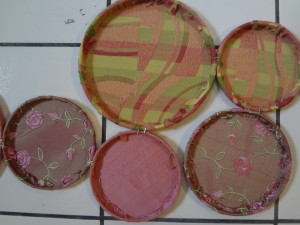 Step Eight – Using Hot Glue Gun (in caps ’cause i’ve got mad respect for the molten lava that comes out of it), reinforce the joints from the back. I went right over the staples to give it more stability
Step Nine – Repeat steps 6 – 8 for bottom layer
Step Ten – Using low temp gun, tac the top layer to the bottom layer as configured
Step Eleven – Using low temp gun, go back and run the glue around the entire circumference of each top ring, where it lays on the bottom layer. Do not use too much, you cant get glue off fabric very well.
Step Twelve – Using a 1×2 or similar small piece of wood, using Hot Glue Gun, secure it to the entire center of the back of the valance. This will stop it from bowing.
Step Thirteen – Figure out how to hang the thing.
Jewish Wedding – Danielle and Nathan
Nearly two years ago Danielle and Nathan began working with us for their Jewish
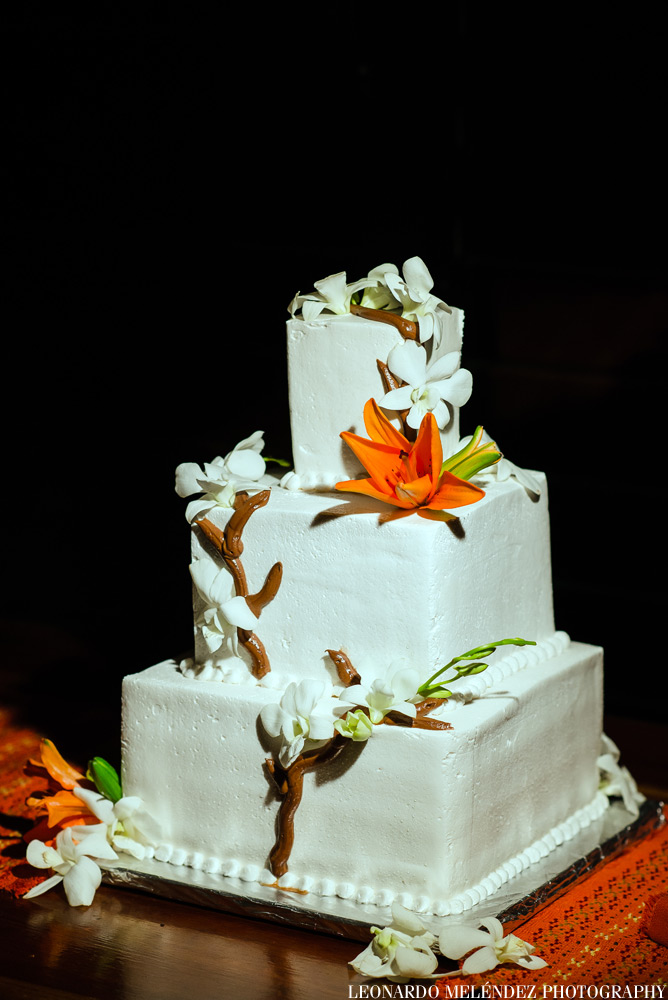
Serving Now: Belize Style Wedding Cakes!
Weddings are Beautiful, especially if there held in a stunning place, like Belize. I think
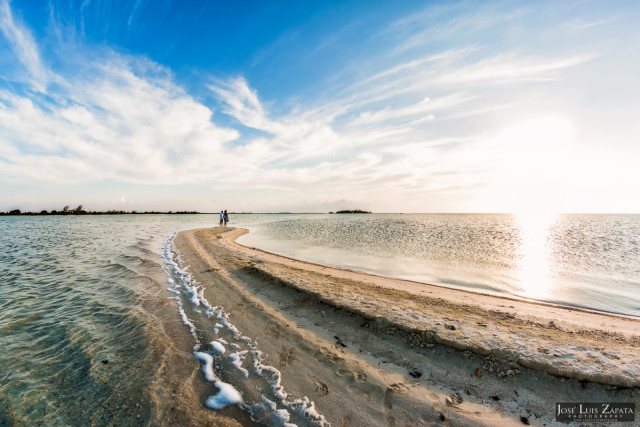
Winter Wedding in Belize
Why have a Winter Wedding in Belize? Heavenly Weather December, January, February is the perfect winter